As JavaScript automated testing frameworks have matured over the last two decades, six have risen as the most popular and can be categorized by their protocols:
- World Wide Web Consortium (W3C) WebDriver – WebDriverIO and Nightwatch
- Chrome DevTools Protocol (CDP) – Puppeteer and Playwright
- Proprietary – TestCafe and Cypress
In this section, we will delve into how we can install and run each framework, walk through an exploratory example of a simple test case, and compare each framework to understand which is the best fit for our use cases.
Note: The examples that follow assume Node and the Node Package Manager (NPM) are already installed.
WebDriverIO
WebDriverIO is an open-source project that utilizes the W3C WebDriver standard to interact with browsers in a truly cross-compatible manner. All modern web browsers, including Chrome, Firefox, Safari, and Edge, support the WebDriver standard, which means that WebDriverIO supports nearly all browsers out of the box. Unfortunately, the Web has changed significantly since the WebDriver standard was devised, and it lags in its support for modern web development and testing.
To supplement deficiencies of the WebDriver standard, WebDriverIO also supports CDP, which enables the framework to use the standardized WebDriver interactions, while also allowing us to perform additional, more modern interactions with the browser. This CDP interaction occurs over WebSockets to the browser, which means WebDriverIO can interact with the browser without the need for a patched browser or external service.
To run a WebDriverIO test, we must first create a new Node project:
mkdir webdriverio-examples
cd webdriverio-examples/
npm init -y
Note that the -y flag — “yes” — accepts all prompts during the initialization process, removing the need for manual interaction. Next, we must install the WebDriverIO Command Line Interface (CLI) tool through NPM and configure the project using the wdio config command:
npm i --save-dev @wdio/cli
npx wdio config -y
The configuration command creates a wdio.conf.js file that contains the WebDriverIO configuration for our project. Within this configuration file, we can see the following field:
specs: [
     './test/specs/**/*.js'
]
This specs field specifies the location of our test case specifications. By default, a test file, example.e2e.js, will be created under the ./test/specs directory. We can run this test using the following command:
npx wdio run wdio.conf.js
The example.e2e.js test will open a browser window and attempt to authenticate using a login form. Once the test is complete, we can see the successful results of our test case in the WebDriverIO output:
Spec Files: 1 passed, 1 total (100% completed) in 00:00:08
For more information, see the following WebDriverIO resources:
Nightwatch
Nightwatch is an open-source project similar to WebDriverIO — both use the WebDriver standard to interact with the browser — but Nightwatch focuses more on usability. This focus on ease-of-use results in:
- Cleaner syntax
- Selection through JavaScript and CSS or XPath
- Support for Page Object Models (POMs)
The usability of Nightwatch is also reflected in how quickly a test case can be created. Similar to WebDriverIO, we must first create a new Node project:
mkdir nightwatch-examples
cd nightwatch-examples/
npm init -y
To install Nightwatch, we can run the following command:
npm i --save-dev nightwatch geckodriver chromedriver
We can then run an example script, ecosia.js — contained in node_modules/nightwatch/examples/tests/ — by running the following command:
npx nightwatch node_modules/nightwatch/examples/tests/ecosia.js
The ecosia.js script performs the following operations:
- Opens the Ecosia Search Engine — https://www.ecosia.org/
- Asserts that the title is
Ecosia
- Asserts that the search box is visible
- Enters
nightwatch into the search box
- Asserts that the
Search button is visible
- Clicks the
Search button
- Asserts that the results contain
Nightwatch.js
After we run this test case, we can see that all four of our assertions have passed:
[Ecosia.org Demo] Test Suite
============================
ℹ Connected to localhost on port 4444 (9932ms).
  Using: firefox (87.0) on linux 5.4.0-71-generic platform.

✔ Running Demo test ecosia.org:

✔ Element <body> was visible after 466 milliseconds.
✔ Testing if the page title contains 'Ecosia' (11ms)
✔ Testing if element <input[type=search]> is visible (72ms)
✔ Testing if element <button[type=submit]> is visible (56ms)
✔ Testing if element <.mainline-results> contains text 'Nightwatch.js' (3446ms)

OK. 5 assertions passed. (7.359s)
Compared to WebDriverIO, Nightwatch is quick to start and test cases are simple to implement. This begs the question: Why use WebDriverIO, then? What Nightwatch gains in simplicity and agility, it sacrifices in control. To reduce the burden on developers, Nightwatch abstracts a large portion of the details about the interaction of the framework with the browser.
WebDriverIO, on the other hand, exposes many of these details, which allows us to fine-tune and tweak our test configuration as needed. In general, Nightwatch should be preferred when simplicity and ease-of-use are a priority, while WebDriverIO should be used when a greater level of control is required.
For more information, see the following Nightwatch resources:
Puppeteer
Puppeteer is an open-source project maintained by the Google Chrome DevTools team that provides an abstracted API that interacts with Chrome and Chromium browsers over CDP. By default, Puppeteer runs headlessly, but it can be configured to run using Chrome or Chromium — in the same manner as WebDriverIO and Nightwatch — as well.
To get started with Puppeteer, we must create a new Node project:
mkdir puppeteer-examples
cd puppeteer-examples/
npm init -y
Next, we need to install the Puppeteer packages:
npm i --save-dev puppeteer
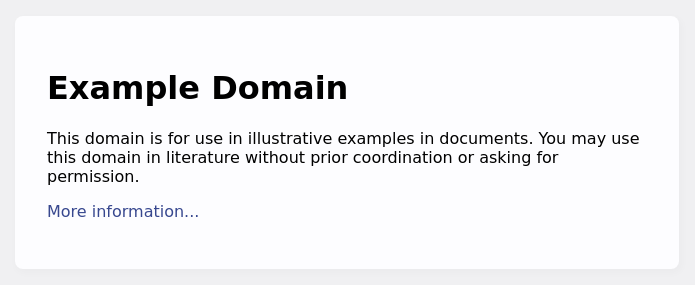
Note that the puppeteer package installs Puppeteer and an accompanying version of the Chromium browser. If we want to forgo the installation of Chromium, we can install the puppeteer-core package instead. Regardless of our selection, we can create a test script, example.js — from the official Puppeteer Usage page — that opens https://example.com/ and takes a screenshot of the browser window:
const puppeteer = require('puppeteer');

(async () => {
    const browser = await puppeteer.launch();
    const page = await browser.newPage();
    await page.goto('https://example.com');
    await page.screenshot({ path: 'example.png' });

    await browser.close();
})();
We can then run this script using the following command:
Once the command completes, we can see a screenshot of https://example.com/ in the current directory:
This is only a small fraction of the capability that Puppeteer contains. Puppeteer also allows us to programmatically perform nearly all the actions that we can perform manually in a browser, including:
- Providing input
- Interacting with forms
- Navigating Single-Page Applications (SPAs)
- Obtaining performance timing information
- Testing Chrome extensions
For more information, see the following Puppeteer resources:
Playwright
Playwright is the spiritual successor to Puppeteer. It was created by Microsoft in 2020 (by the same team that created the original Puppeteer at Google) with the goal of bringing the same rich functionality supported by Puppeteer to all mainstream browsers. Instead of utilizing standard APIs for Firefox and WebKit browser engines, Playwright patches these engines to enable support for its APIs. This allows Playwright to support Chromium, Firefox, and WebKit on Windows, Linux, and MacOS at the expense of requiring that test cases be executed in a different browser than the one a user will experience (i.e., a patched browser).
To create a new test case, we must create a new Node project:
mkdir playwright-examples
cd playwright-examples/
npm init -y
Once we have created the new project, we can install the playwright package. We must also install the Playwright dependencies using the npx playwright install-deps command. This command ensures that the browsers we require — Chromium, Firefox, and WebKit — are also installed and ready for use. We can install these packages using the following commands:
npm i --save-dev playwright
sudo npx playwright install-deps
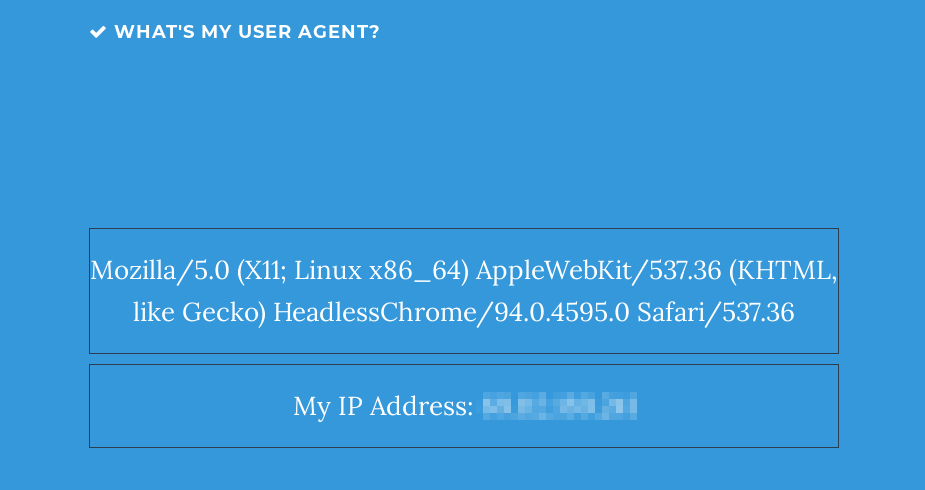
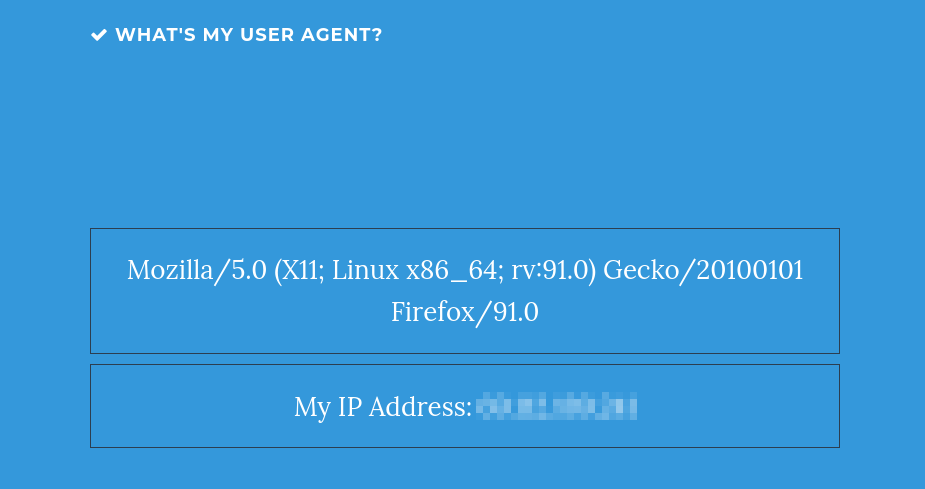
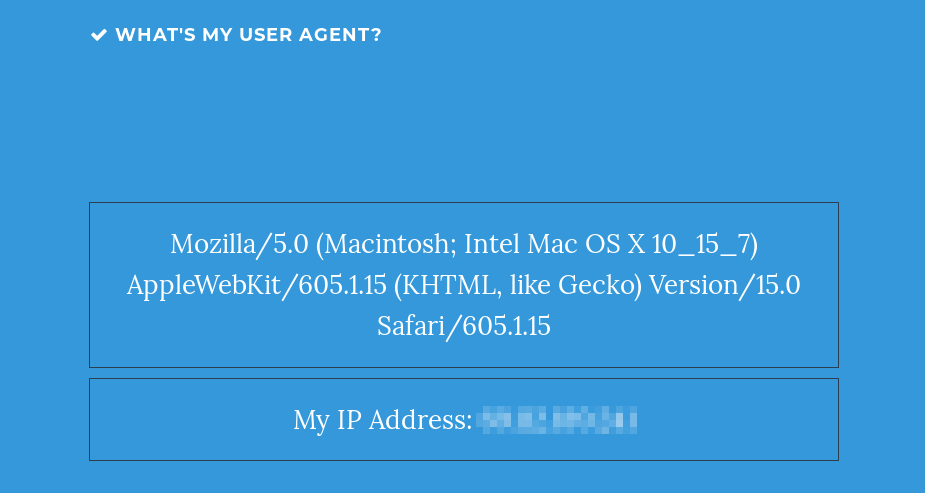
We can now create a new test case, example.js — provided by Playwright — with the following content:
const playwright = require('playwright');

(async () => {
  for (const browserType of ['chromium', 'firefox', 'webkit']) {
    const browser = await playwright[browserType].launch();
    const context = await browser.newContext();
    const page = await context.newPage();
    await page.goto('http://whatsmyuseragent.org/');
    await page.screenshot({ path: `example-${browserType}.png` });
    await browser.close();
  }
})();
This test case opens http://whatsmyuseragent.org/ in Chrome, Firefox, and Safari, and it takes a screenshot of the web page in each browser. We can run this test case using the following command:
Once execution completes, we can see the following three screenshots (note the contents of each page differs based on the browser in which it was loaded):
Screenshot 1: Chromium
Screenshot 2: Firefox
Screenshot 3: WebKit
Although Playwright extends the features of Puppeteer to a wider array of browsers, it does not replace Puppeteer. While it does offer a greater degree of interoperability, Playwright requires that patched browser releases be used — which introduces a disparity between the browsers used by our applications' customers and the browsers we use for testing.
For more information, see the following Playwright resources:
TestCafe
TestCafe is an open-source project that acts as a proxy server and injects the code used for testing. In practice, TestCafe executes a test case that exercises a developer-specified URL, which is changed by TestCafe to the URL of the proxy server, injecting the HTML and JavaScript necessary to execute the test. This page is then delivered to the browser and the test case is executed. When more advanced interaction is needed, developers can use Client Scripts and Client Functions. TestCafe also automatically waits for page objects to load, which reduces the burden on developers when accessing certain elements on a web page.
TestCafe is a powerful tool, and its architecture differs greatly from the previous frameworks we have seen. This proxy architecture ensures that tests are executed quickly and a vast array of browsers are supported. The catch is that events — such as a button click — are not executed natively in a browser, which differs from the user experience and can lead to disparity in testing. For example, a button may not be clickable when rendered by a browser, but it is possible that a TestCafe test case can click the button anyway.
To run a TestCafe test case, we must first create a new Node project:
mkdir testcafe-examples
cd testcafe-examples/
npm init -y
We can then install the testcafe package using the following command:
npm i --save-dev testcafe
Next, we can create a simple test case, example.js — provided by TestCafe — that enters text into an input field and clicks a submit button:
import { Selector } from 'testcafe';

fixture `Getting Started`
    .page `http://devexpress.github.io/testcafe/example`;

test('My first test', async t => {
    await t
         .typeText('#developer-name', 'John Smith')
         .click('#submit-button');
});
Finally, we can execute our test case using the following command:
npx testcafe chrome example.js
The testcafe command accepts two arguments: (1) the alias of the browser to use and (2) the test script to execute. In our case, we want to execute our test case in Chrome, so we supply an alias of chrome. A complete list of browser aliases can be found on the Test Cafe Browsers page. Once the test successfully completes, the testcafe tool outputs the following, denoting that our test case, My first test, has passed:
Running tests in:
 - Chrome 93.0.4577.63 / Linux 0.0

 Getting Started
 ✓ My first test


 1 passed (8s)
For more information, see the following TestCafe resources:
Cypress
Cypress is an open-source project that runs test cases directly within the browser. Unlike other test frameworks that make remote requests to the API of the browser or a standardized API, Cypress runs as a Node server process, which means that it runs in the same event-loop as our application under test. This has many distinct advantages over alternative approaches, including:
- Faster test execution
- Access to the network layer and web traffic
- Ability to execute operating system tasks (e.g., taking screenshots or video)
- Access to useful debugging information
Like TestCafe, Cypress also supports automatic waiting, which removes the need for developers to add artificial waits for page elements to load. This architecture does have some drawbacks, though, including:
- Supports only Chrome-based and Firefox browsers
- Struggles with certain web security issues (although workarounds are available)
- Constrains each test to a single origin
- Lacks multi-tab support
Although Cypress brings a lot to the table in terms of its continuity with the application under test, this ability comes with some sacrifices. Cypress can be a great automated test framework, but its limitations should be well understood.
To run a Cypress test, we must first create a new Node project:
mkdir cypress-examples
cd cypress-examples/
npm init -y
Once we created a new project, we can install the cypress package:
With the cypress package installed, we can create a new test in the file, cypress/integration/example_spec.js:
mkdir -p cypress/integration/
touch cypress/integration/example_spec.js
Once we create the example_spec.js file, we can add the following content — provided by Cypress:
describe('My First Test', () => {
  it('clicking "type" navigates to a new url', () => {
     cy.visit('https://example.cypress.io')

     cy.contains('type').click()

     cy.url().should('include', '/commands/actions')
  })
})
Next, we can open the Cypress App using the following command:
With the dashboard open, we can click on our example_spec.js file to open it:

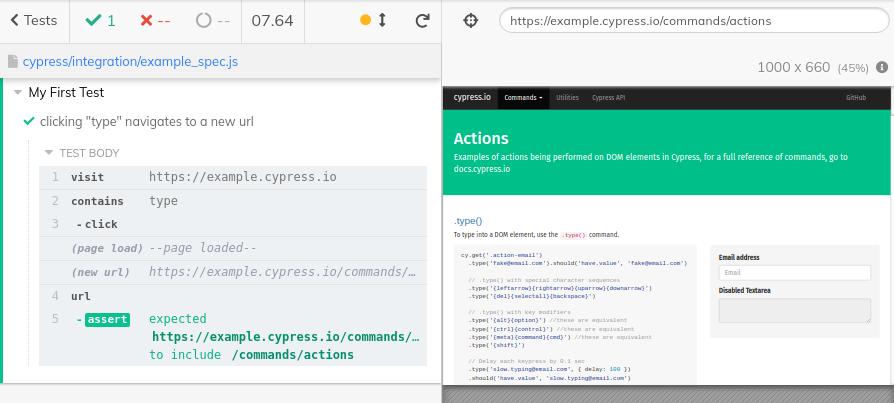
Opening our example_spec.js file (by clicking on it) will open a browser window and execute our test case:
Apart from running our tests visually, we can also execute them using the command line, which removes the need to open our test case in a browser.
For more information, see the following Cypress resources:

{{ parent.title || parent.header.title}}
{{ parent.tldr }}
{{ parent.linkDescription }}
{{ parent.urlSource.name }}